
How to make a santa hat
/
A Santa hat is basically a red triangle with a white band, and if you have some basic sewing skills, you can make everyone in your family one, if you want!
For this Santa hat, I used remnants of red plush fleece and white sherpa fleece. Both fabrics are easy to sew with when compared to fur or velvet. I like to be able to wash costume pieces, and fleece is a perfect fabric for washable costumes. Plus, you don’t have to finish any seam edges, since they won’t fray. Let’s get started.
To cut a hat on the fold like I did, you will need a rectangle of red fleece that measures 24” wide (stretch edge) and 18” long. (From a yard of red fleece, you could get 8 Santa hats if you have to make a bunch, some of them just won’t be cut on the fold and you will have an extra seam!)

A Santa hat is a triangle. Start by measuring around the head of the person who will be wearing the hat. My son’s brim measurement is 23”. Fold the fleece fabric, making sure the fold is the non-stretchy direction and the bottom of the hat is on the stretchy edge. I am leaving plenty of ease, so I placed the pin at 13.5” from the fold. That’s just to mark where to cut.

For a standard hat length, I placed the 2nd pin on the fold 17” from the bottom stretchy edge. Use a long ruler and rotary cutter, or mark with a sharpie and use a scissors. Your goal is to cut from the bottom pin to the top one in a straight line so you end up with a triangle on the fold.
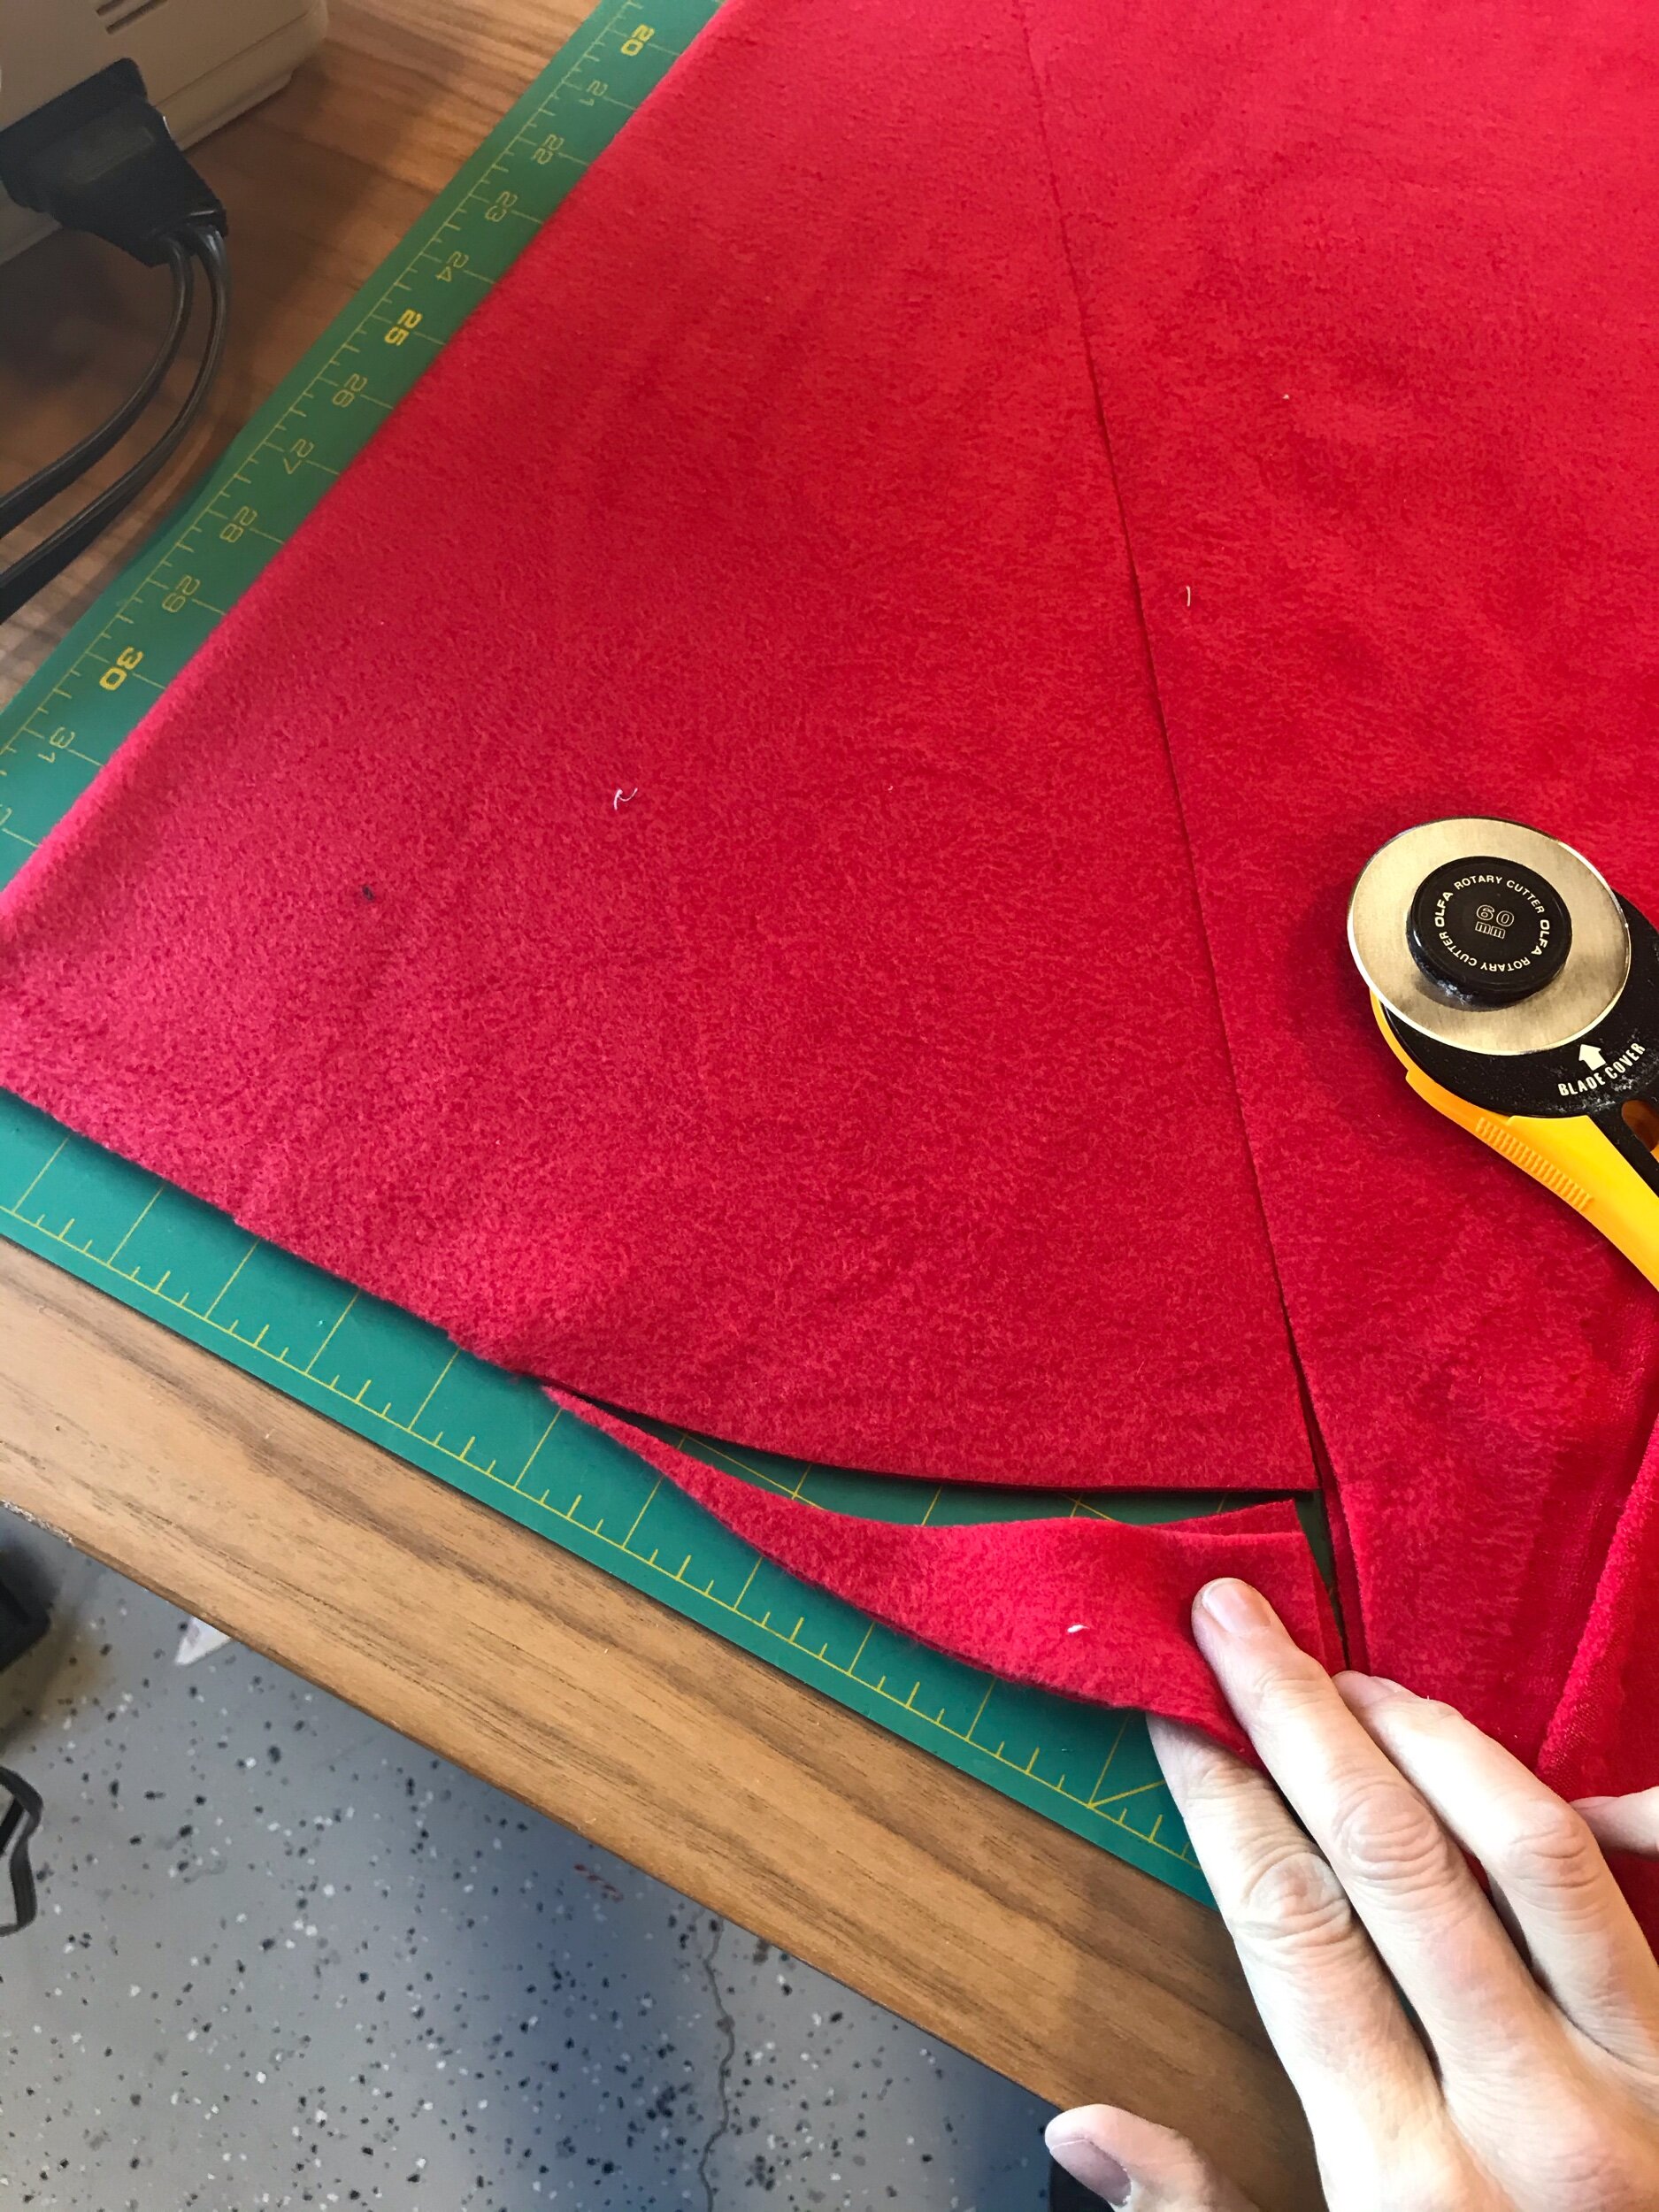
The Santa hat will lay a little nicer on your head, if you cut a curve on the bottom straight edge.

Stitch the long side from point to brim edge. I used a serger, but if you don’t have a serger, use a long zigzag or straight stitch.

This is white sherpa fleece. Find the edge with the most stretch, that will be the long edge. Cut a piece about 6.5” wide by the head circumference measurement plus 1 inch.

Stitch with a straight stitch or serge the short edge of the white sherpa fleece.

Fold the white fleece wrong sides together. At this point you can use a long zigzag or serge the edges, if that makes handling it in the next step easier.

Turn the red hat right side out and line up the double edge of the white folded fleece brim with the bottom of the hat.

Serge or zigzag all 3 edges together in one seam. Pin or clip baste as needed. I usually just go slow and hold the layers together.
Your hat is done except for the pom pom. You can buy a ready made pom pom, make one from yarn, take one off another hat, or make one from the same fleece as you made the brim. That’s what I did, so I wouldn’t have to go to the store!

On the wrong side of the white sherpa fleece, I drew an 8” circle. It doesn’t have to be exact. This makes a 4.5” pom pom, so if you want it smaller, size down accordingly.

Using a strong thread, sew gathering stitches on your circle line. Trim 1/2 from your stitching and leave little tabs, as shown.

Pull the thread to gather the pom pom, leaving an opening to stuff with fiberfill. I had some scraps of puffy quilt batting that I tore apart and used like stuffing. I stuffed the pom pom lightly, enough to give it shape, but not so much that it would be hard and become a weapon. When it’s stuffed just right, finished pulling the gathering threads, and tie the threads securely, but don’t take the needle off yet.

The 8” circle yielded a 4.5” pom pom. To make the next step easier, I used the needle and thread, still attached and took a few stitches through those 4 tabs I left when I trimmed the circle. Don’t trim the thread yet!

Cut the just the tip of the point off at the top of the hat.
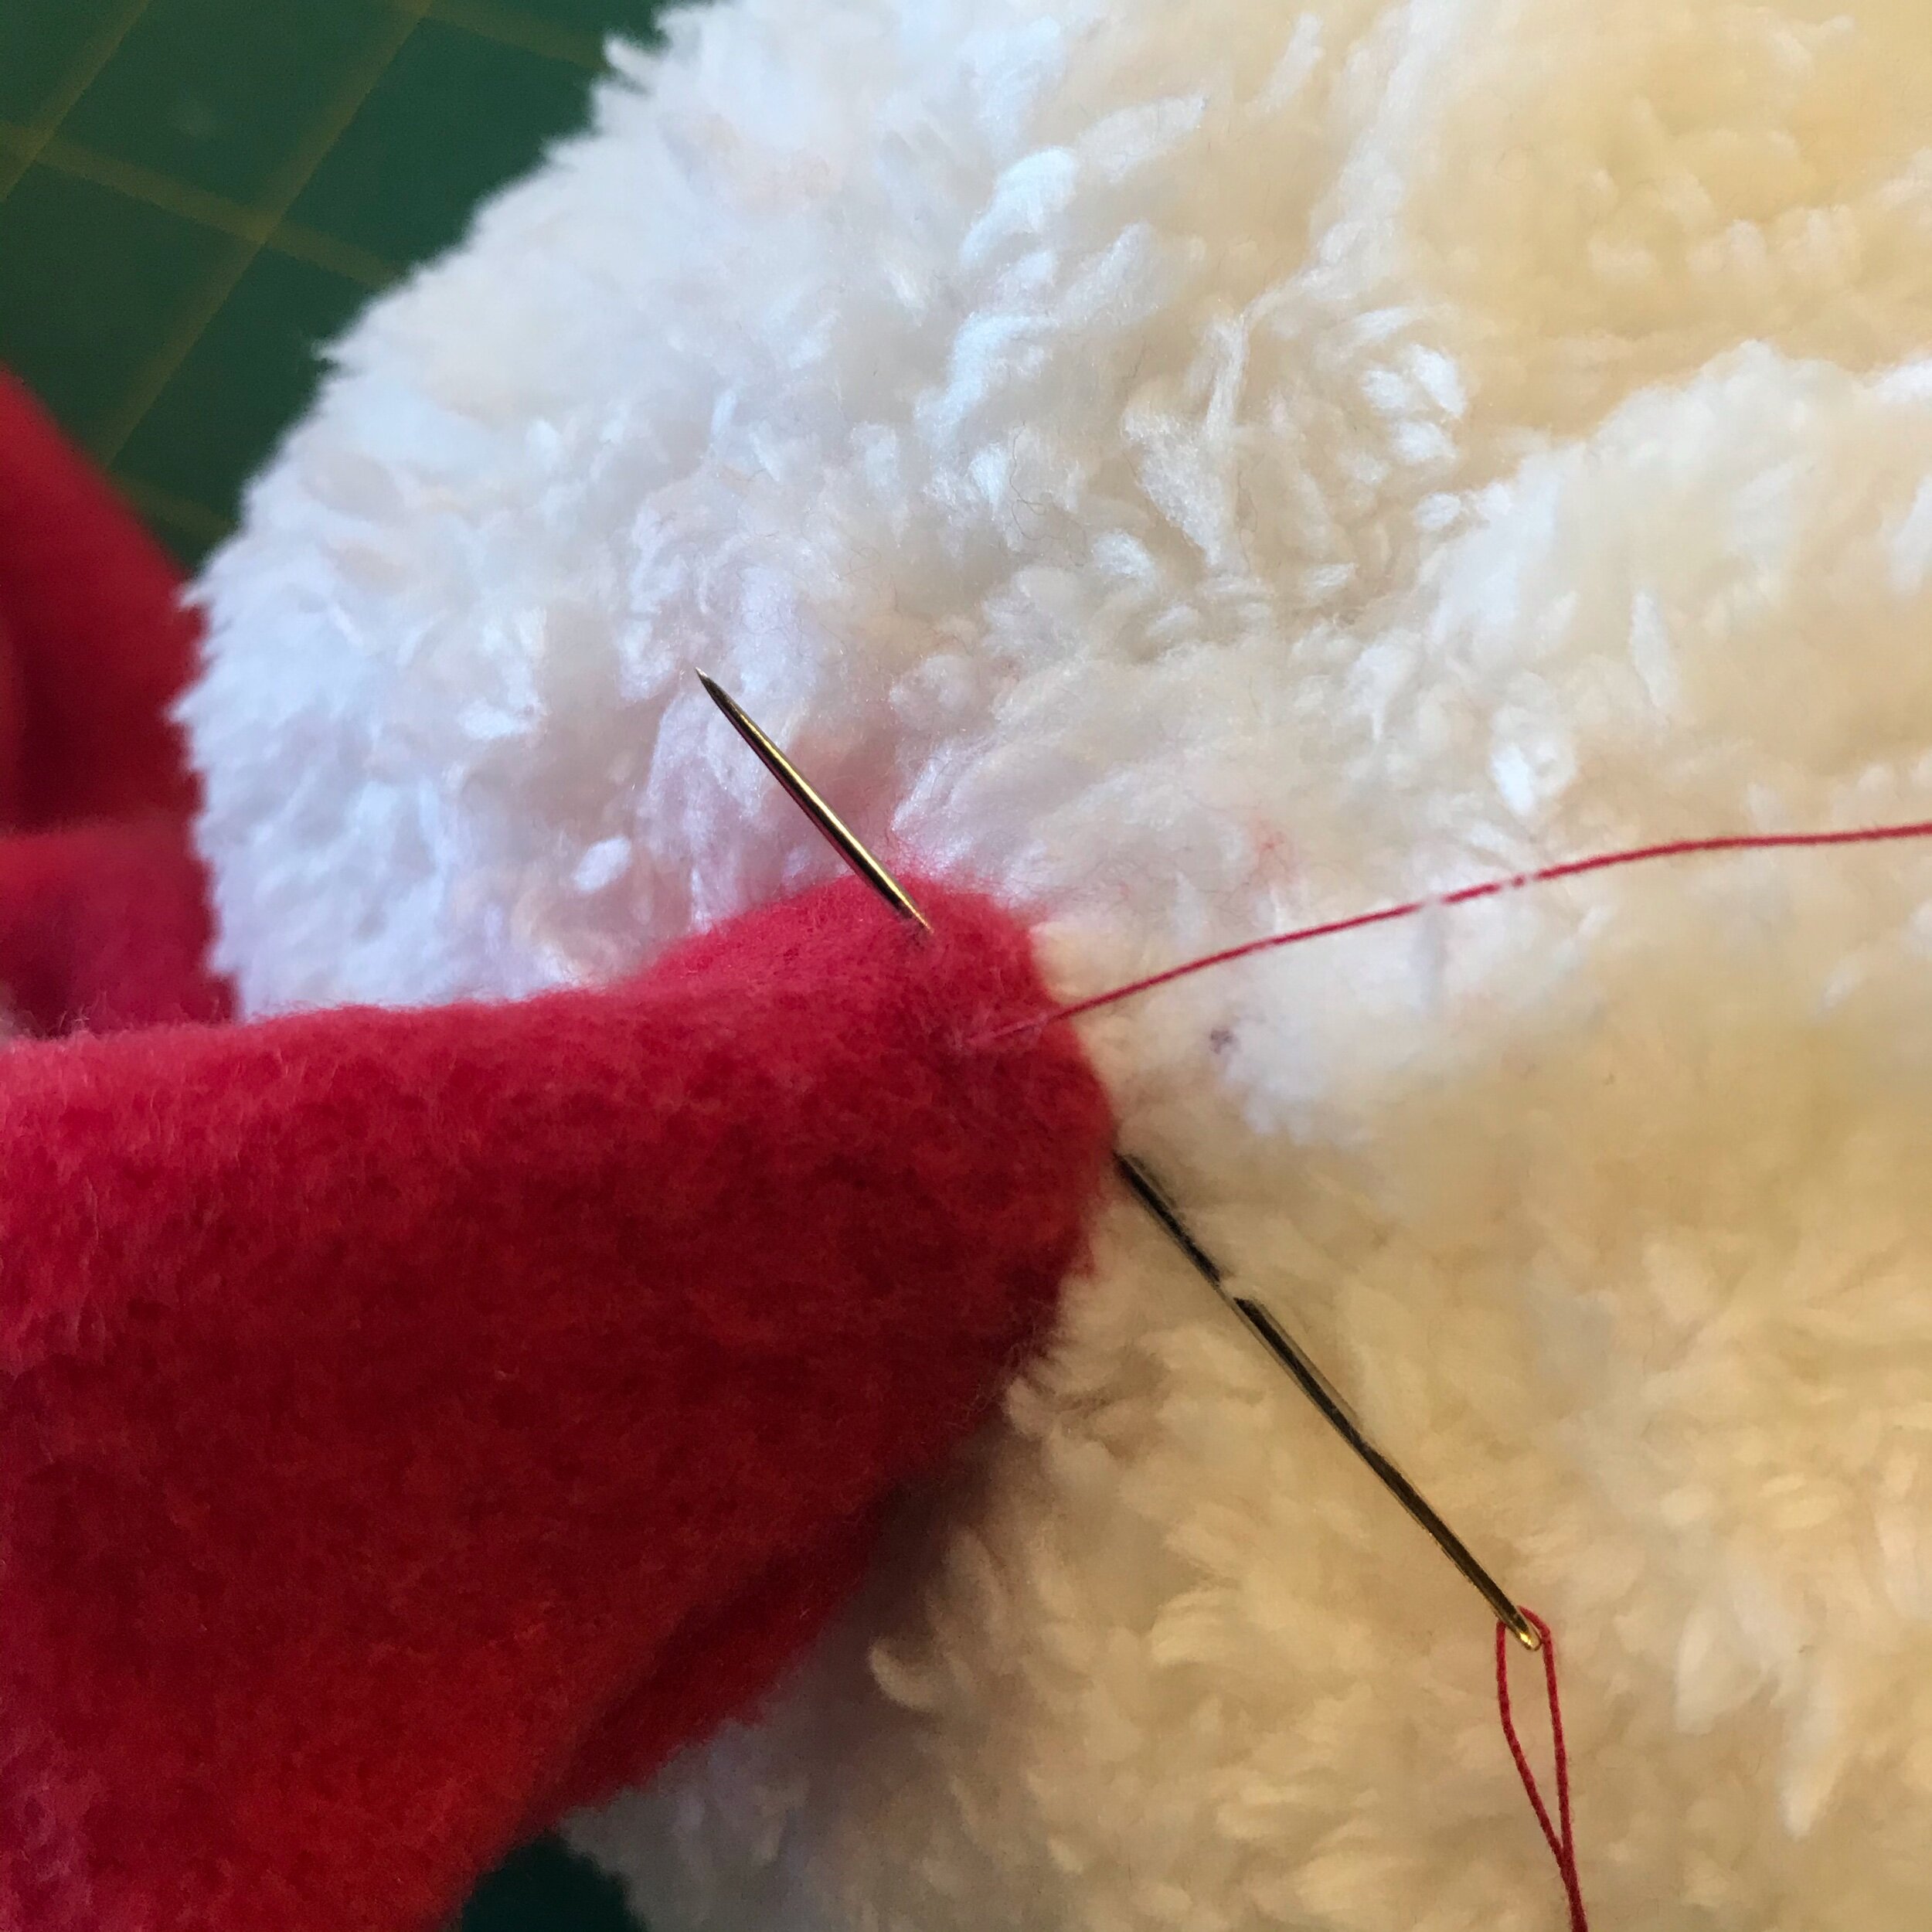
Insert the tabs on the pom pom into the top of the hat, turning under the edge of the fleece about 1/4.” Poke your needle through to the outside, and secure the pom pom with a sturdy whipstitch. Knot the thread and trim.


Have your happiest elf try the hat on and good luck getting him to clean the guest room like he promised when you said you’d make the hat for him.
If you enjoyed this post, I’d be so grateful if you’d pin it to your Christmas Pinterest boards! Leave a comment below, if you have questions. I’d love to see what you make!
